Removing adhesive from tinted car windows requires a meticulous and safe process, especially in hot and humid areas like Guam. At Cherry Auto Detailing, we provide the following guide that will show you how to remove adhesive from tinted windows, detailing a tightly controlled standard procedure.
Key Takeaways
- Knowing whether the adhesive residue is from window film adhesive, stickers, vinyl decals, or old adhesive to choose the right cleaning method.
- Only use tools and products safe for window film, such as microfiber cloths, plastic scrapers, steam, and ammonia-free cleaners.
- Protect the surface, test on a small area, soften the adhesive with low heat, apply a film-safe adhesive remover, gently remove the residue, then clean and neutralize the glass.
- Avoid common mistakes that damage window film, such as using ammonia, acetone, metal blades, excessive heat, or vigorous scrubbing.
- If you see bubbling, peeling edges, persistent fogging, or a risk of streaking, it's time to seek professional window film adhesive removal services.
What Type Of Adhesive Are You Removing?
Before you begin cleaning, take some time to identify the type of adhesive you're dealing with and its location on the film surface to choose the appropriate removal method.
- Film Adhesive (Under The Film): This type of adhesive is located in the layer between the film and the glass. It requires low, stable temperatures during handling to avoid damaging the film.
- Label Or Tape Adhesive (On The Film Surface): This type of adhesive is on the surface of the window film and is easily removed with a film-safe adhesive remover.
- Decal Or Vinyl Adhesive (Multi-Layered Film): Decals and vinyl images can leave a thicker, more flexible, and more firmly attached adhesive layer on the film surface. They often require multiple softening cycles and careful cleaning by gently scraping with a plastic scraper.
- Old Vs. New Adhesive (Time Factor): New adhesive is usually softer and easier to remove, while old glue, dried in the sun, is more brittle and prone to smudging, so it requires a longer time.
If you're unsure which parts of your vehicle actually have film versus bare glass, check our guide on where window tint is applied.
Why Tint Adhesive Is Hard To Remove
The adhesive used to bond window tint film becomes difficult to remove because years of exposure to sunlight, UV rays, and indoor temperatures cause the adhesive to harden and become smudged. Excessive heat or wiping too quickly can spread the adhesive across the anti-scratch coating, making the problem worse. That's why slow, temperature-controlled cleaning and the use of coating-safe cleaners are essential for thorough adhesive removal.
Tools & Materials Checklist: Tint-Safe Only
Use only tools designed specifically for the film removal process to minimize the risk of blurring and keep window edges stable.
- Microfiber Cloth: Use a clean, soft microfiber cloth to gently wipe away softened dirt without causing friction.
- Plastic Scraper: Use the plastic edge only on lubricated surfaces to protect the film. Hold at a shallow angle to avoid scratching the scratch-resistant coating or damaging the film edges.
- Spray Can (Controlled Mist): Use a fine mist spray can to control contact time and reduce overspray near switches and speakers.
- Ammonia-Free Cleaner: Choose an ammonia-free formula to prevent discoloration and clouding of the film.
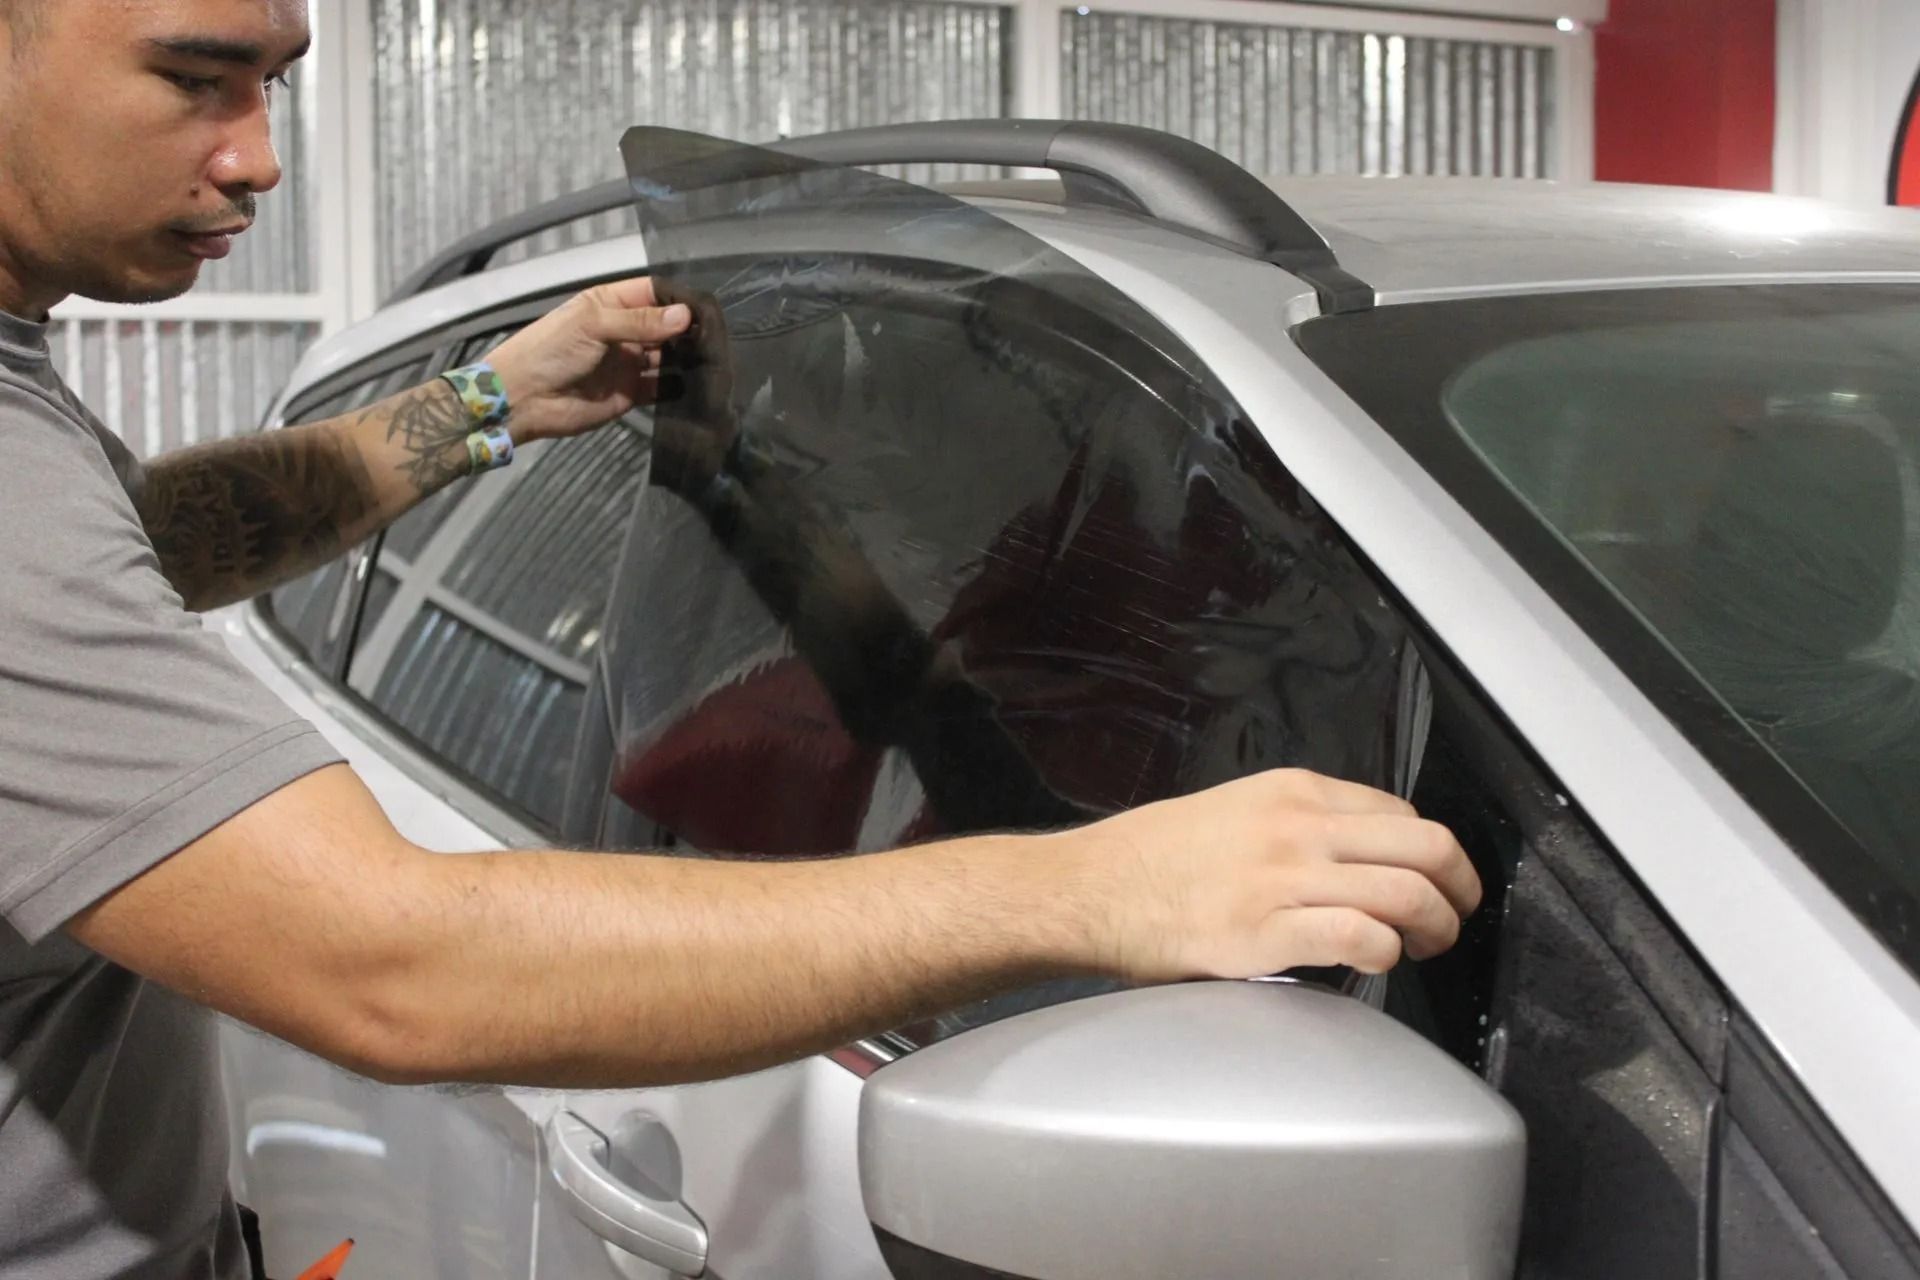
How To Remove Adhesive From Tinted Windows
Follow the window tint cleaning procedure used in the automotive tinting industry below:
Step 1: Protect The Area
Before cleaning, mask off the door panels, dashboard area, speaker grilles, trim edges, and switches to prevent overspray and moisture exposure.
Step 2: Test A Small Area First
Perform a spot test for 60-120 seconds on a corner of the tint to confirm compatibility. Apply the cleaner, let it sit for a period of time, wipe clean, and test the scratched area. Only proceed when you confirm the surface remains stable and clear.
Step 3: Safely Soften The Adhesive
Controlled temperature will reduce the mechanical force required to peel off the adhesive. Use low heat or steam and keep the tool moving continuously to avoid overheating the film.
Step 4: Use A Film-Safe Adhesive Remover
Apply the remover to a cloth instead of directly to the edges and let it sit for 30-90 seconds to allow the solution to effectively break down the adhesive. Wipe in one direction, rotating the cloth frequently to avoid smearing the loosened adhesive.
Step 5: Remove Residue With A Plastic Scraper
Only use a plastic scraper on the lubricated film. Keep the scraping motion shallow (10–20° angle) and controlled to avoid leaving marks, and refrain from scraping near the edges of the film.
Step 6: Clean, Neutralize, And Degrease The Glass
Finish by wiping the glass with an ammonia-free cleaner to neutralize any remaining chemicals. Use a damp microfiber cloth to wipe away any remaining residue, then use a dry cloth to clean.
Step 7: Inspect Under Different Lighting Conditions
Inspect the movie screen for remaining smudges and streaks when illuminated with sunlight and a flashlight. Note any areas where a deposit has possibly been inhibiting glare-reducing properties.
Alternative Methods For Stubborn Adhesive
Use the following safe film removal methods to effectively and quickly remove excess adhesive residue:
- Repeat The Soaking Cycle: Reapply the film-safe cleaner and soak for an additional 30-90 seconds.
- Steam Method: A warm microfiber cloth is used over the adhesive for 15-30 seconds, and then a wiping motion is performed in one direction.
- Safe Edge Cleaning: Clean around the film edge with a cotton swab and a small amount of cleaning agent, being careful not to wet the film edges.
- Lubricated Scraping: Only use small amounts of scrapes when lubricated in order to avoid damaging the anti-scratch layer.
Common Mistakes That Ruin Tint
These errors cause blurring, scratching, peeling, and damage to the film, which should be avoided at all costs:
- Ammonia-Based Cleaners: Using these cleaners contributes to discoloration and blurring, which affects the adhesion on the edges.
- Acetone Or Nail Polish Remover: Damages the anti-scratch coating and can distort colored film layers.
- WD-40: Leaves an oily film that increases glare and affects cleaning effectiveness.
- Scrubbing Pads Or Magic Wipes: Create microscopic scratches, easily visible under bright light.
- Metal Scraper Blades: Cut or damage the film instantly.
- Soaking Edges And Borders: Causes blistering, leading to peeling and edge bulging.
- Scrubbing Vigorously: Pushes softened adhesive deeper into the film surface and makes cleaning more difficult.
When To Stop DIY And Call A Professional!
Stop attempting this yourself immediately if you see:
- Air bubbles rising under the tinted film
- Signs of peeling at the edges
- Risk of damage near the rear window defroster
- Persistent cloudiness after multiple attempts.
Continuing DIY attempts will increase the risk of damaging the film and costing you twice. Cherry Auto Detailing offers professional window tinting removal and application services, protecting the film's durability and maintaining its clarity.
Book your window tinting service in Guam today!
FAQs
Can rubbing alcohol remove window film adhesive?
Yes, it would help loosen a thin layer of adhesive that is sticking to the surface, but it would require a test in a small area for 60 to 120 seconds, since a yellow film would be undesirable.
Can I use ammonia-free cleaners on window film?
Yes. An ammonia-free cleaning solution promotes a clean film with no fading of the dye.
Can a hair dryer affect window film?
Yes, if improperly used. Use low heat only, turning it around to shield the anti-infrared coatings.
Can a razor blade be used on window film?
No. Metal blades will cut window film immediately. Only plastic scrapers are deemed safe.
How do I check for fogging/glare when I remove the adhesive?
Look for remaining streaks or residue that could interfere with glare-reducing abilities when inspecting with oblique lighting or a flashlight.